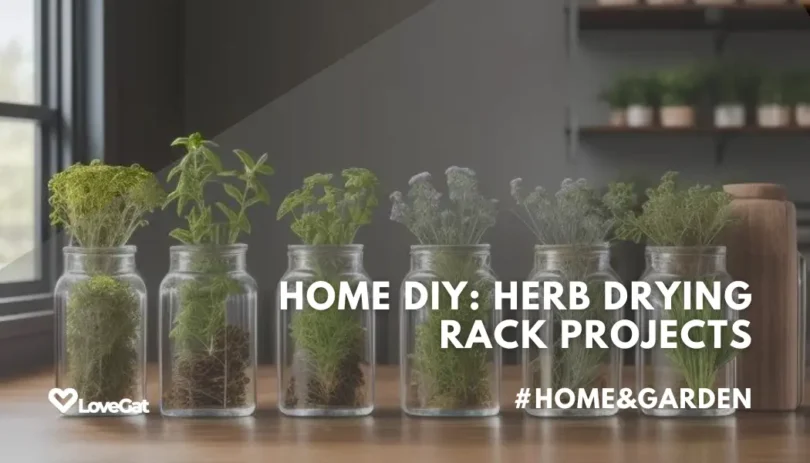
DIY Projects for Creating Herb Drying Racks at Home!
Are you an avid gardener or culinary enthusiast looking to preserve the flavors and aromas of your homegrown herbs? Drying herbs is a simple and effective way to prolong their shelf life and ensure you have a fresh supply on hand year-round. Instead of purchasing expensive drying racks, why not embark on a fun and rewarding DIY project to create your own herb drying racks at home? With a few basic materials and a touch of creativity, you can craft custom drying racks that perfectly suit your space and style.
1. Wooden Frame Herb Drying Rack
For a rustic and charming herb drying solution, consider building a wooden frame drying rack. Start by assembling a wooden frame using lightweight, untreated wood such as pine or cedar. Attach mesh or wire netting to the frame using staples or nails, creating a breathable surface for air circulation. Hang the rack in a dry, well-ventilated area, and use clothespins or clips to secure bundles of herbs for drying. This simple yet effective design allows for optimal airflow, ensuring your herbs dry evenly and retain their flavor.
2. Repurposed Hanger Herb Drying Rack
Put old hangers to good use by repurposing them into herb drying racks. Gather wire or plastic hangers from your closet and remove any clips or attachments. Stretch a piece of cheesecloth or muslin fabric across the bottom of the hanger, securing it in place with glue or a stapler. Hang the hangers from a clothesline or sturdy rod in a warm, dry location, ensuring adequate space between each hanger for airflow. This budget-friendly solution is perfect for drying small batches of herbs and requires minimal effort to assemble.
3. Hanging Basket Herb Drying Rack
Transform ordinary hanging baskets into functional herb drying racks with this easy DIY project. Start by lining the bottom of each basket with a layer of newspaper or parchment paper to absorb moisture. Next, insert small hooks or loops around the rim of the basket to hang bundles of herbs upside down. Hang the baskets from a sturdy overhead structure, such as a beam or ceiling hook, allowing ample space between each basket for air circulation. This versatile drying rack can accommodate multiple herb varieties simultaneously, making it ideal for gardeners with diverse herb collections.
4. Picture Frame Herb Drying Rack
Combine form and function by repurposing an old picture frame into a stylish herb drying rack. Remove the glass and backing from the frame, leaving only the outer frame intact. Stretch mesh or netting across the back of the frame and secure it in place with staples or glue. Hang the frame vertically or horizontally on a wall or door, using hooks or nails to support the weight. Arrange bundles of herbs on the mesh surface, ensuring they are spaced evenly for proper airflow. This customizable drying rack adds a decorative touch to your home while providing a practical solution for drying herbs.
5. Foldable Screen Herb Drying Rack
Create a space-saving herb drying solution with a foldable screen drying rack. Start by constructing a wooden frame with hinged panels, similar to a room divider or privacy screen. Stretch mesh or netting across each panel, securing it in place with staples or nails. Place the screen in an open position in a well-ventilated area, allowing air to circulate freely around the herbs. When not in use, simply fold the panels together for compact storage. This versatile drying rack is perfect for small spaces and can be easily transported indoors or outdoors as needed.
Embark on a rewarding DIY adventure with these creative projects for crafting herb drying racks at home. Whether you prefer a rustic wooden frame, repurposed hangers, hanging baskets, picture frames, or foldable screens, there’s a design to suit every space and style. By creating your own herb drying racks, you’ll not only save money but also add a personal touch to your herb preservation process. Get ready to enjoy the bountiful flavors and aromas of your homegrown herbs year-round!
You Might Also Like
- How I used AI to create a living data visualization for our home
- 20 Cool Home Decor And Designs For Any Style
- Planning a garden? Here’s a step-by-step guide to start off on the right foot
Social Media Communities
Share your digital nomad experiences and connect with fellow Us:
- Instagram: @Lovegatofficial
- Facebook: @LoveGat
Your journey doesn’t end here. Continue to explore and share our Decor & Home Posts.